 Home
HomeInterface and General Settings
Aspherix® Options
Aspherix® GUI is not only intended for configuring DEM simulations (and selected aspects of coupled CFD–DEM setups), but also provides convenient access to external pre- and post-processing tools. These external tools can be integrated for automated post-processing. To enable this functionality, the correct tool paths must be specified in the File / Options dialog:
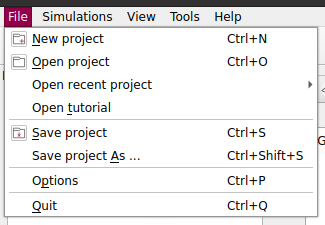
In this dialog, you can specify the paths to the Aspherix® Solver executable, the MPI executable, the Paraview executable (used for post-processing), and the Salome executable (used for pre-processing) under General settings.
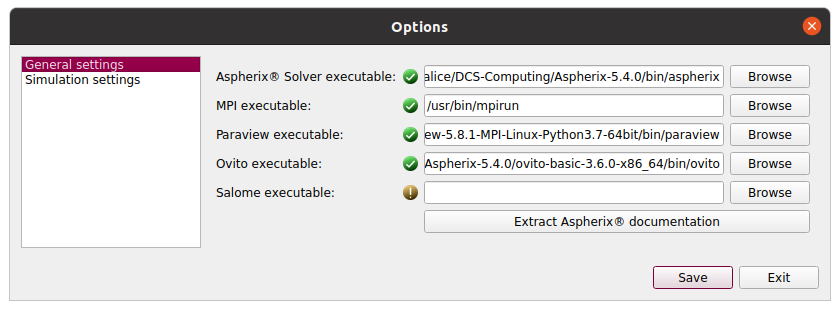
The paths for the Aspherix® Solver, MPI, and—when Paraview and Ovito are installed alongside Aspherix®—also the Paraview and Ovito executables are automatically configured during Aspherix® GUI installation. The Salome path, however, must always be specified manually. Paraview and Ovito can be installed using the provided installer, while MPI must be installed separately on Linux or can be installed using the provided installer on Windows.
Note
If a newer MPI version is already installed on Windows, the MPI installer stops with an error message. This is a built-in behavior of Microsoft MPI, it has no negative effect on the installation.
The Aspherix® Solver documentation is extracted during the installation of Aspherix®. If this process cannot be completed during the installation, the “Extract Aspherix® Documentation” button in the Options dialog can be used.
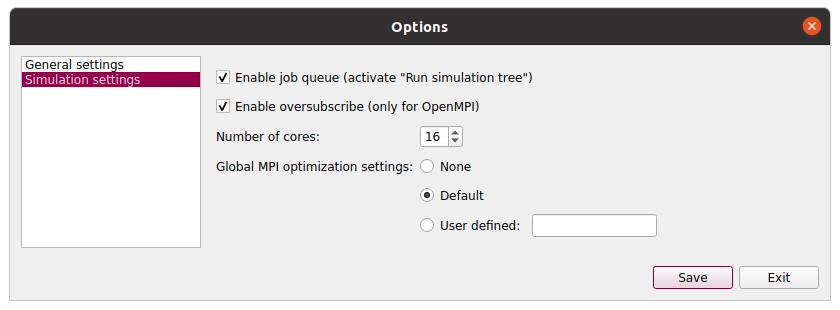
The Simulation settings section of the options allows you to enable or disable the job queue mode (see job_queue_). Additionally, several parallelization options can be configured here:
The maximum number of cores can be set manually. On physical machines, the available number of processors is detected automatically, while on virtual machines this is not possible. In such cases, the user must define this parameter in the options window. This can also be useful when preparing a simulation setup for a large machine on a system with fewer cores, as the maximum number of cores can be increased artificially.
The MPI option oversubscribe can be added to the run options. Please note that not all MPI versions support this flag. On Windows, this option is automatically disabled, as enabling it would cause parallel simulations to crash.
Global MPI optimization settings can also be configured in the options window.
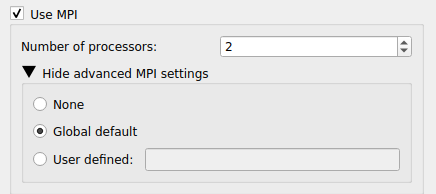
The MPI settings can also be changed per-simulation in the Simulation tab:
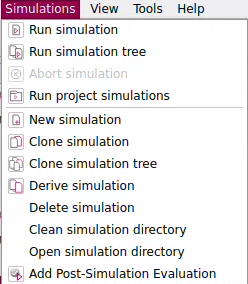
Simulations menu
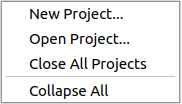
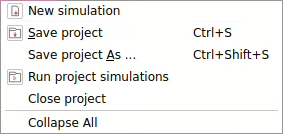
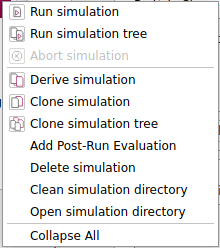
The Simulations menu, the toolbar buttons, and the context menu in the project tree offer similar functionality. They allow the user to create a new project, add a simulation, derive a simulation from an existing one, clone a simulation, start a simulation run, or abort a running simulation.

Context menu when clicking in the empty space of the project tree:
Context menu of a project:
Context menu of a simulation:
Views and Windows
Aspherix® GUI offers three different views: the Standard Mode, the App Creation Mode and the Expert Mode.
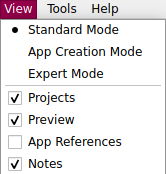
The different views are particularly important when simulations are appified. For more information on appification please check the respective documentation.
There are three additional windows that can be displayed: the Projects window which shows all open projects and the hierachical structure of their simulations, the 3D Preview for the visualization of geometries during the simulation setup and the App References that shows the list of appified quantities of a simulation. The Projects and the 3D Preview Aspherix® GUI has three to five working tabs, depending on the operating system (Windows or Linux) and whether a standard simulation or an App is displayed.
Folder structure
Aspherix® GUI creates a separate folder for each project, with the folder name matching the project name. Each project folder contains a project file named aspherix.proj and a subfolder for every simulation within the project. Relationships between simulations (e.g., parent/child) are defined in the project file.
Each simulation folder is named after the simulation itself, so simulation names must be unique within a project.
Within a simulation folder, you will find the input script (input.asx) and usually a backup version (input.asx.bak). When a simulation is saved for the first time, a file called asx_meta_info.json is generated, containing information about the execution status of the simulation. All meshes used in the simulation are automatically saved in a meshes folder, which is created the first time a simulation with at least one mesh is saved. Other data files—such as velocity or temperature fields, particle shape files, etc.—are stored in an automatically generated data folder. Any data files used by custom commands should be placed in a custom_data folder, which must be created manually by the user.
After a simulation is launched, three additional files are added to the simulation folder: log_aspherix.txt, result_monitor.txt, and warnings_aspherix.txt. The result_monitor.txt file is generated only when the simulation is launched from within the GUI and is parsed in the Simulation tab. Two more folders are also created: post and restart. The post folder is generated once the first output data is written, while the restart folder is created at the end of the simulation and contains the restart file, which serves as the starting point for derived simulations.
Example of a simulation folder structure:
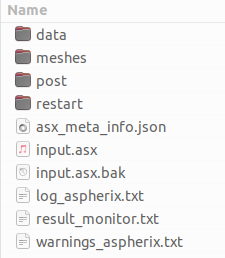
Please note that the folder structure is managed by the GUI, any modifications by the user might lead to issues. When applying “save as” to a project, all meshes and data files that are used by GUI commands as well as files that are contained in the custom_data folder will be copied correctly. Files which were manually added to the meshes or the data folder (or any newly generated folders) as well as simulation results and restart files will not be copied by “save as”.